
Setting up a Webhook automations
Send trigger data from Accoil to any webhook URL, choose the traits included in the payload, test the request, and set the automation live.
Summary
Learn how to set up a webhook automations in Accoil to send trigger-based data to any webhook URL, ideal for platforms like Zapier.
How this helps
Automates custom actions in external platforms, extending the value of Accoil data beyond the platform.
Why use Webhook automations?
Webhook automation allow you to send data from an Accoil trigger to any webhook URL. This is perfect for triggering automated actions in platforms like Zapier or custom-built workflows.
How to create a Webhook automation
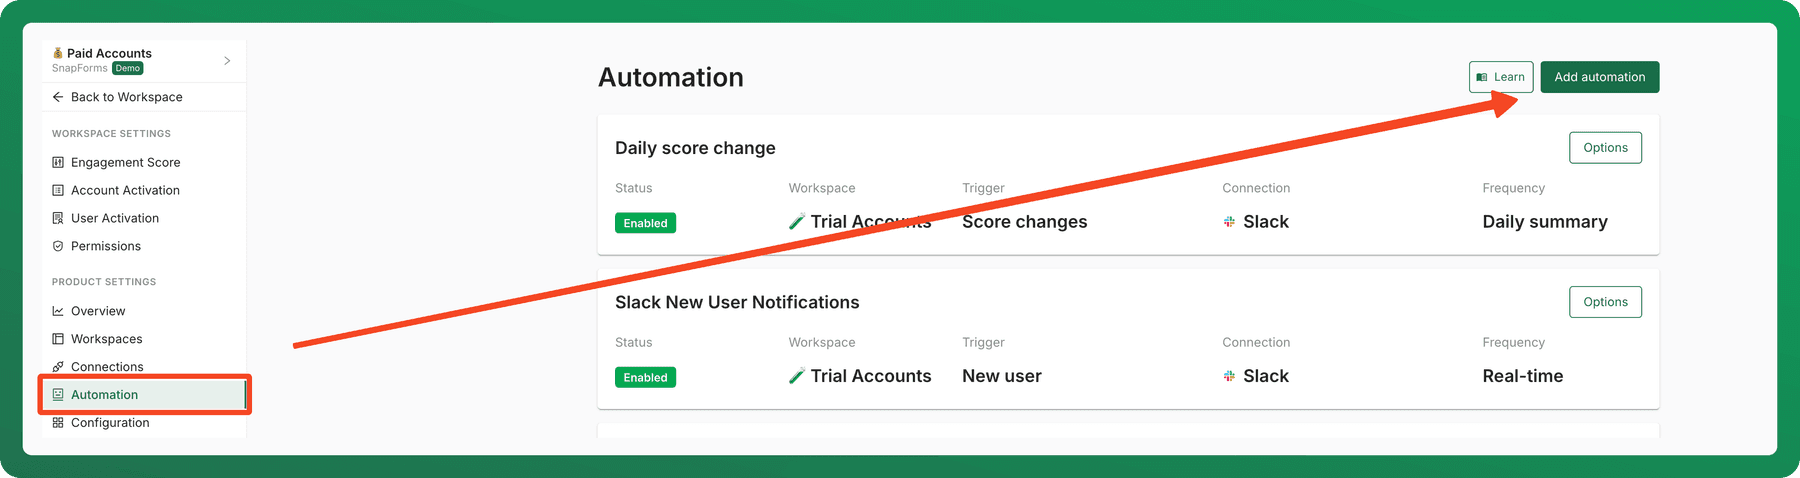
1: Add a new Automation via workspace "Settings" From the left-hand navigation, click "Automation" under Product Settings
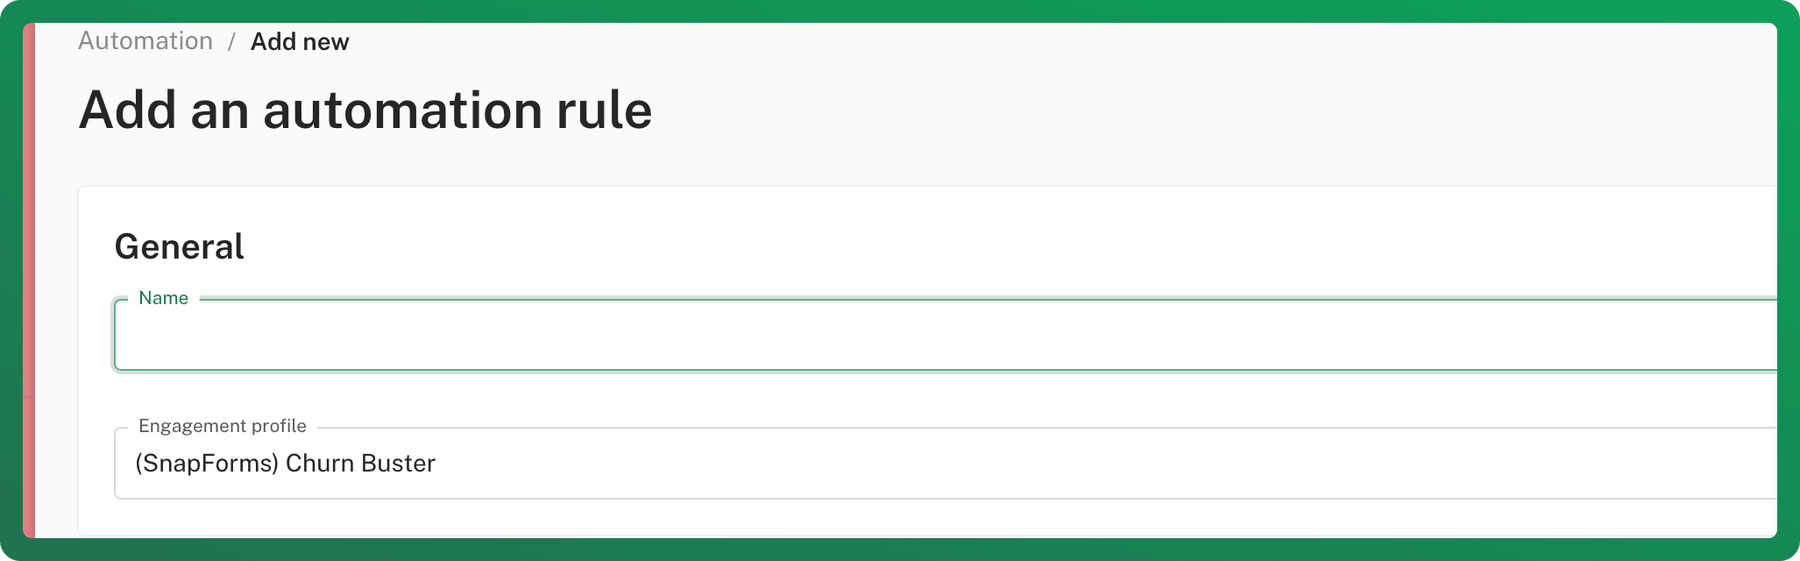
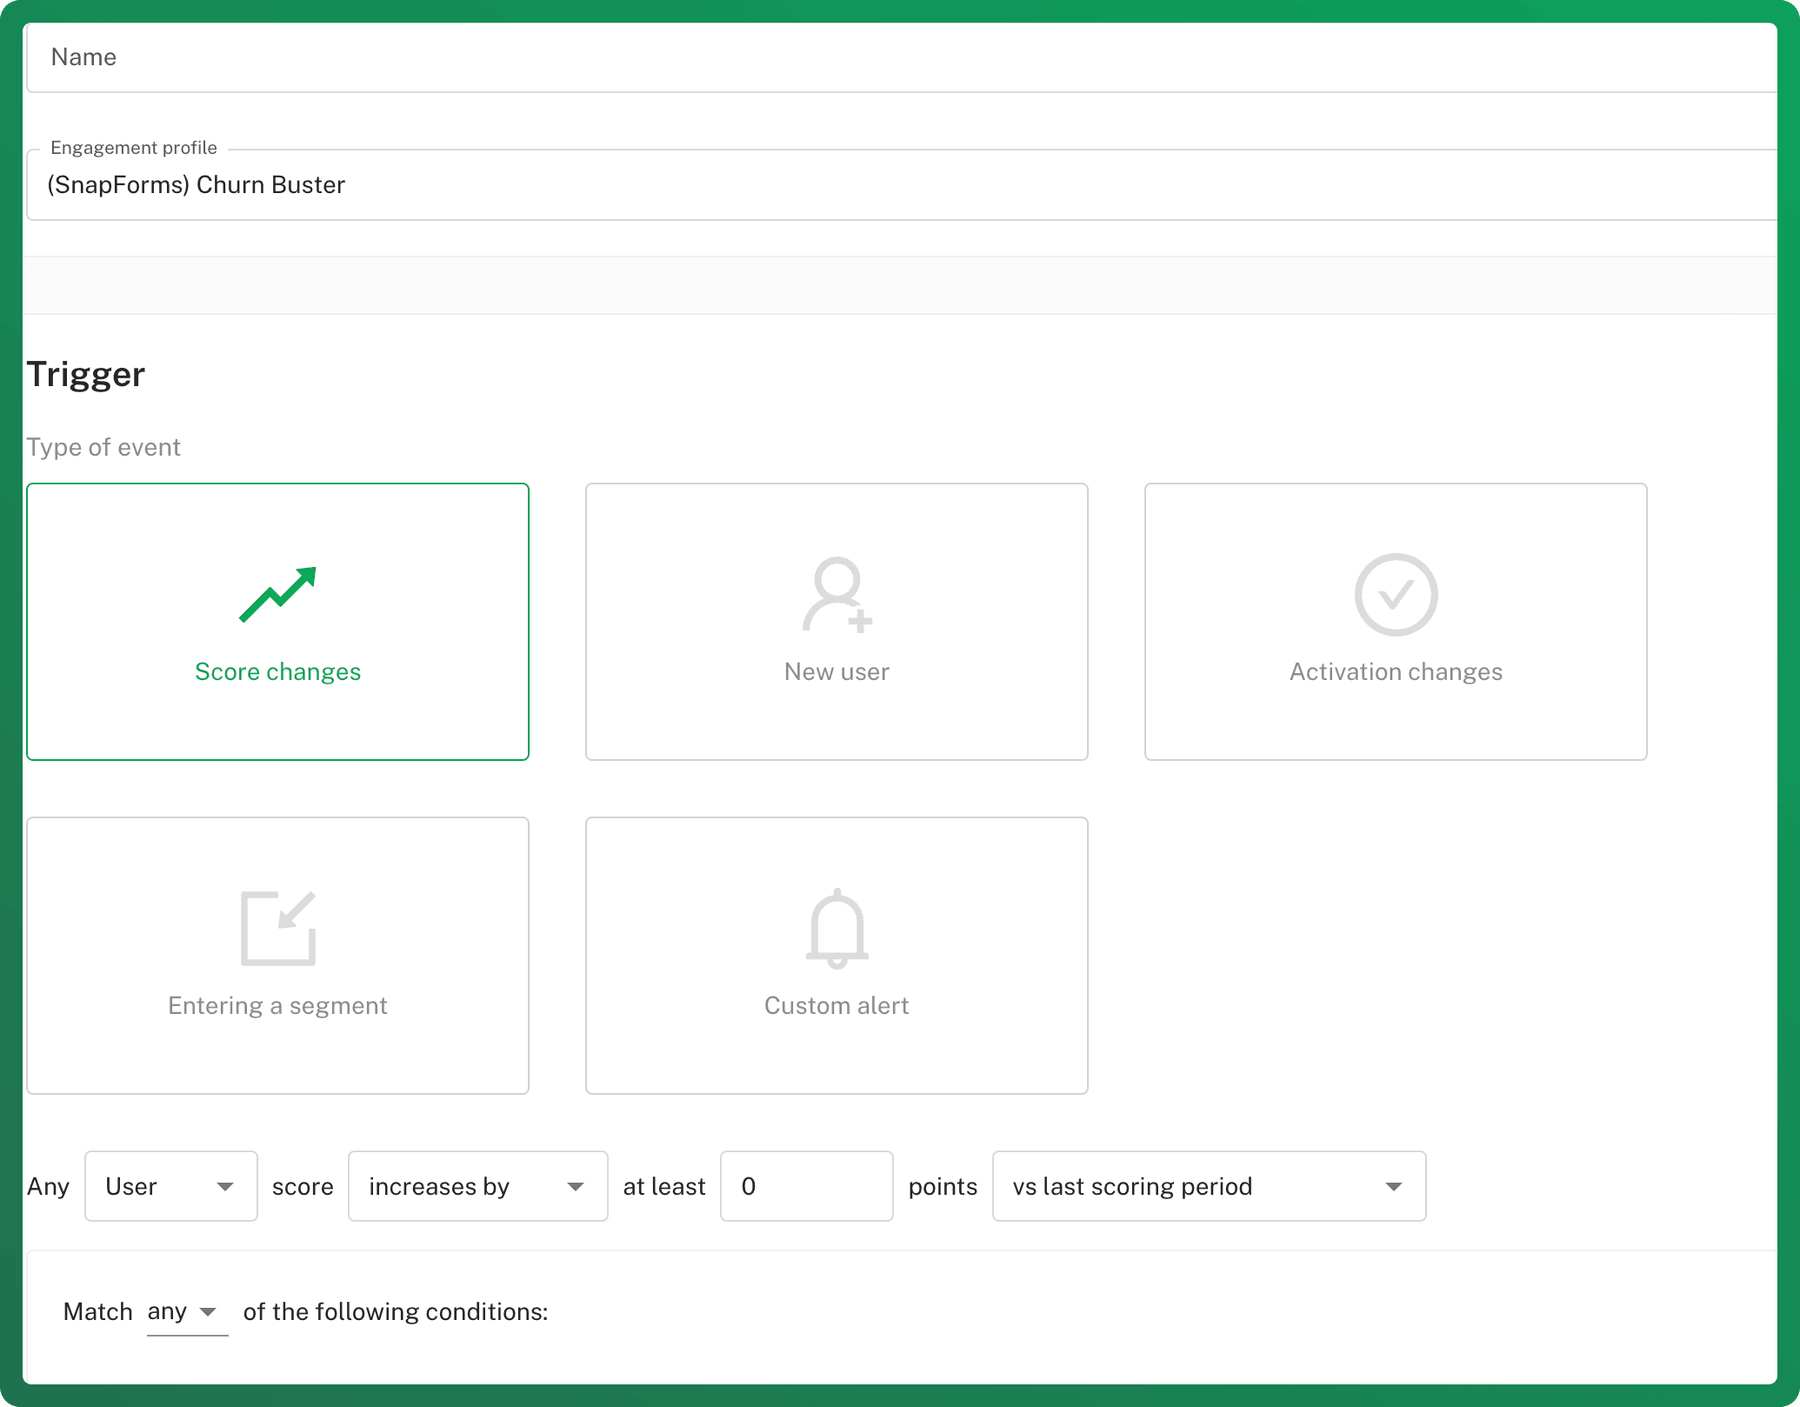
2. Set a Trigger
- Define the conditions that will trigger the webhook automation
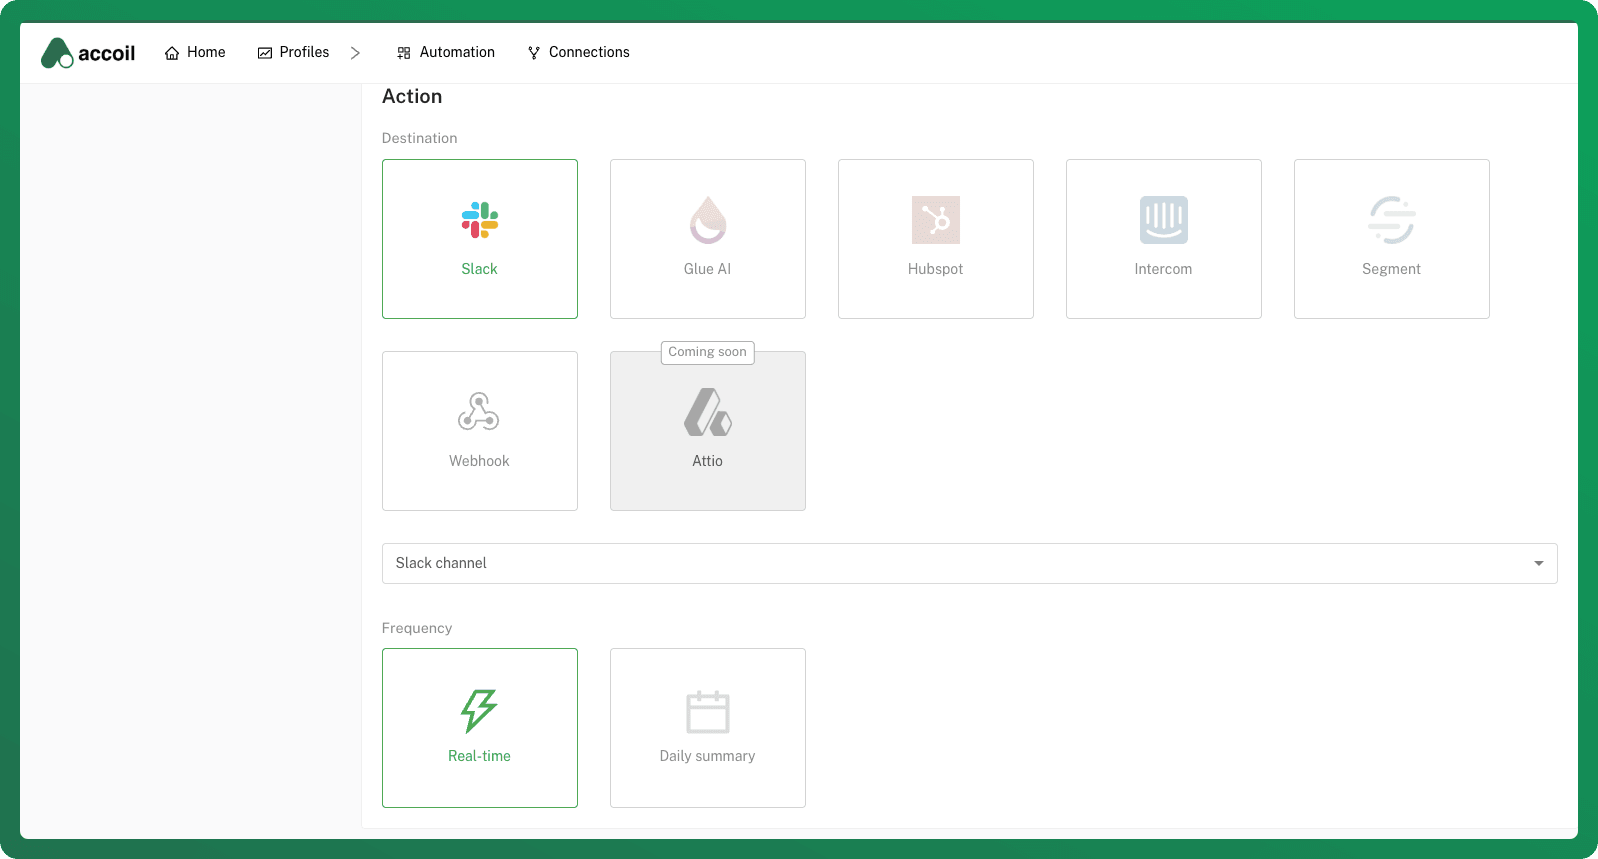
3. Select Webhook
- Choose Webhook as your action type.
4. Add a Webhook URL
- Enter the URL endpoint where the data will be sent.
- Once the trigger conditions are met, Accoil will push data to this URL.
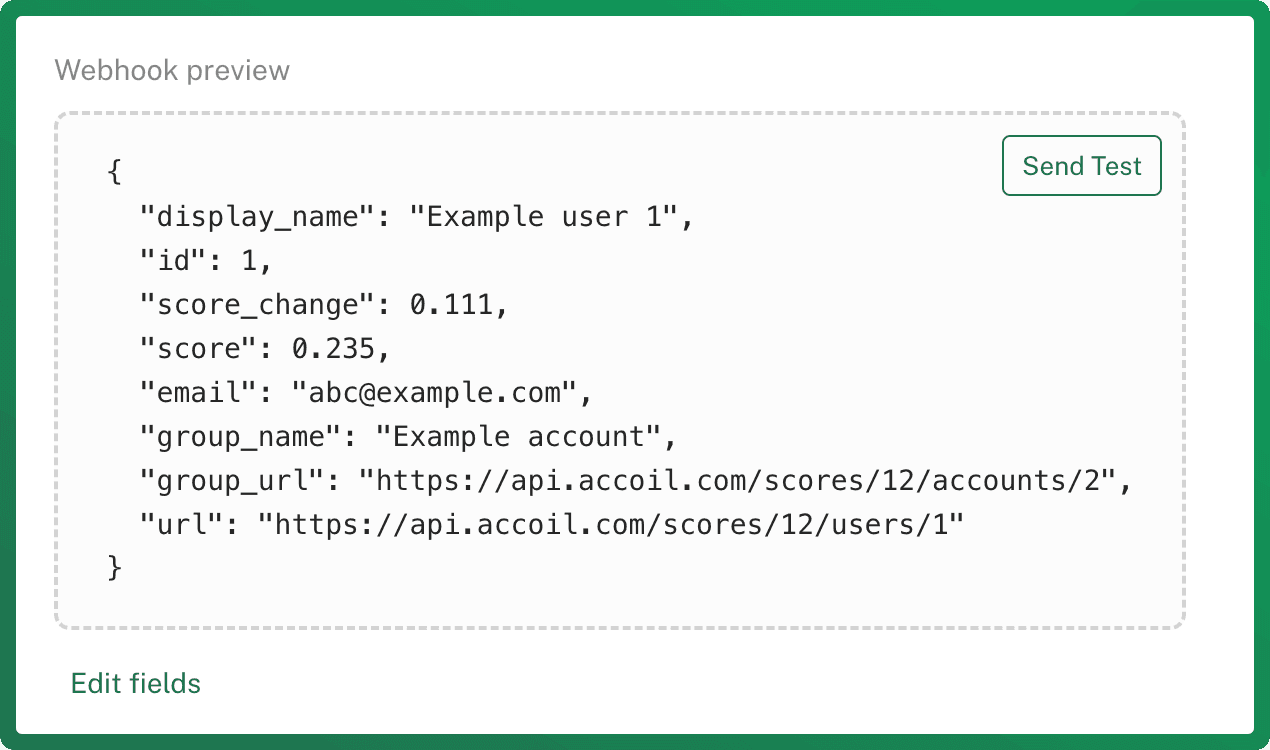
5a. Select Traits you want to send:
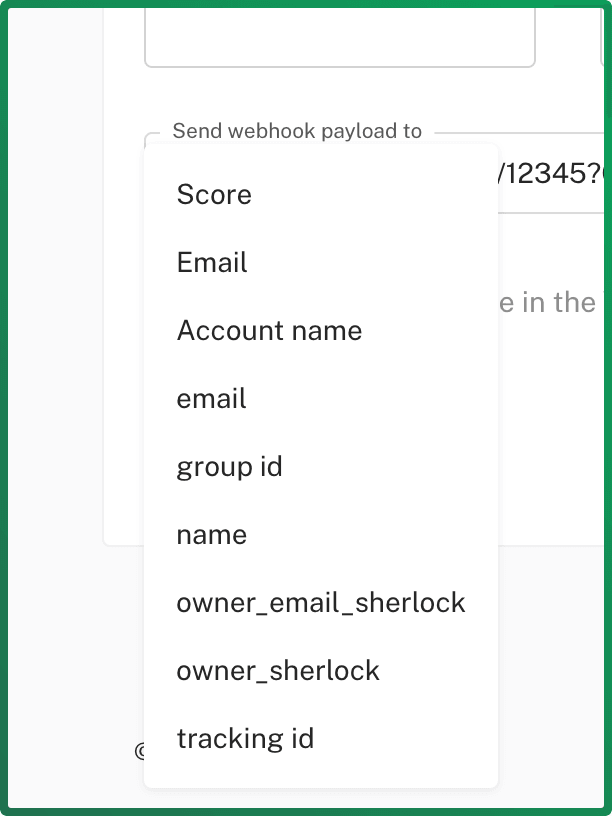
- Click Edit fields to choose which data traits to include in the webhook payload.
- The payload is the data package sent when the webhook is triggered.
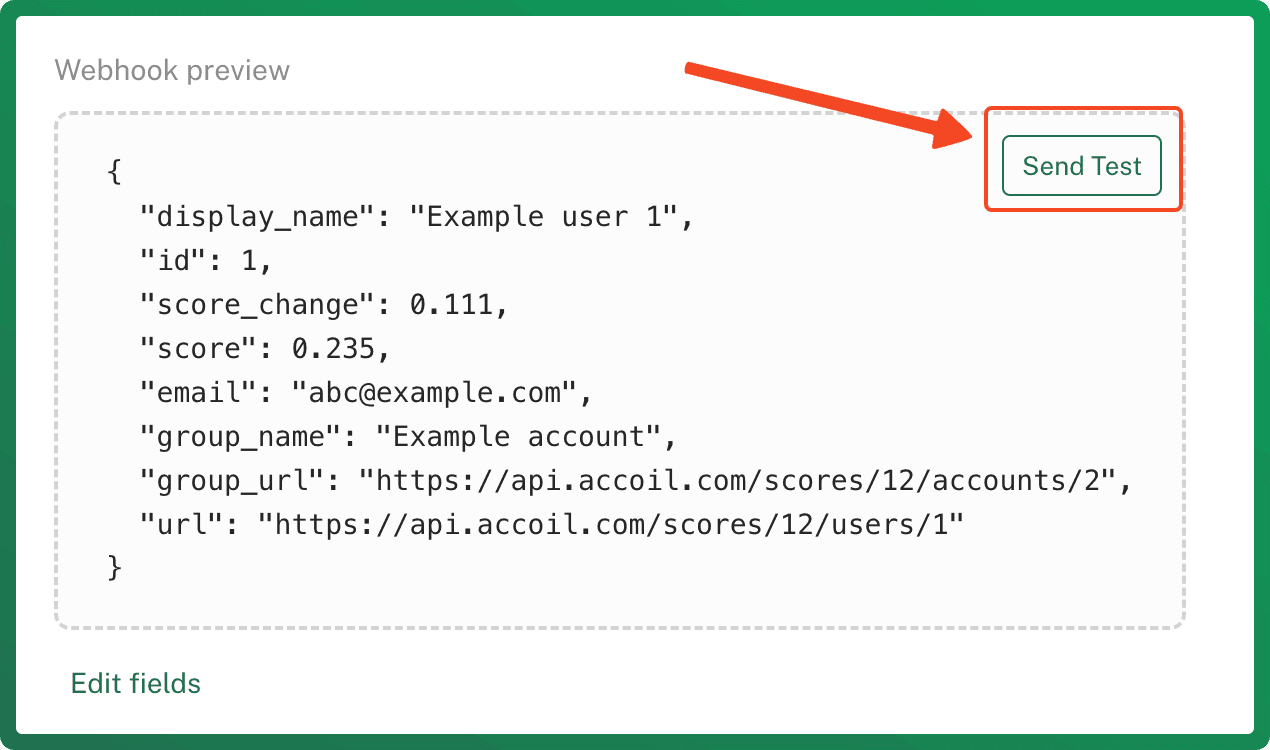
5b. Send a test
- Before setting your webhook live, send a test request to verify the setup.
- Click Send a test to push sample data to your endpoint.
6. Set to Live
Once everything looks good, set your workflow to live, and the webhook will start triggering immediately.
Webhooks make it easy to automate workflows and integrate Accoil with external tools seamlessly!
Setting up Accoil Slack alerts
Create an automation that posts alerts to Slack, then choose its trigger, channel, filters, delivery frequency, and preview fields.
Hubspot Automations
Build an automation that creates a HubSpot task when an Accoil trigger fires, and see how tasks are assigned and when they fall due.